|
Brian's Guitar from Conception to Birth
or How to Build a Guitar in 62 Easy Steps! |
|
25
Add the Neck Edge Banding |
  We
had some quilted maple leftover from the front body panel. It’s an
attractive hard wood so it seemed appropriate to use that for the
banding. Plane and rip a small piece of wood to about 1mm over width
and height. These are thin strips (ours were only about 3mm wide),
so be careful when making the cuts. Cut a couple of extras so you
can pick the best ones to use. We
had some quilted maple leftover from the front body panel. It’s an
attractive hard wood so it seemed appropriate to use that for the
banding. Plane and rip a small piece of wood to about 1mm over width
and height. These are thin strips (ours were only about 3mm wide),
so be careful when making the cuts. Cut a couple of extras so you
can pick the best ones to use.
|
  Plane
and sand the sticks to clean off any saw marks. Cut the sticks to
length with a fine-tooth blade and a miter box. Don’t try this on
the big chop saw; it will shred the edge. Plane
and sand the sticks to clean off any saw marks. Cut the sticks to
length with a fine-tooth blade and a miter box. Don’t try this on
the big chop saw; it will shred the edge.
|
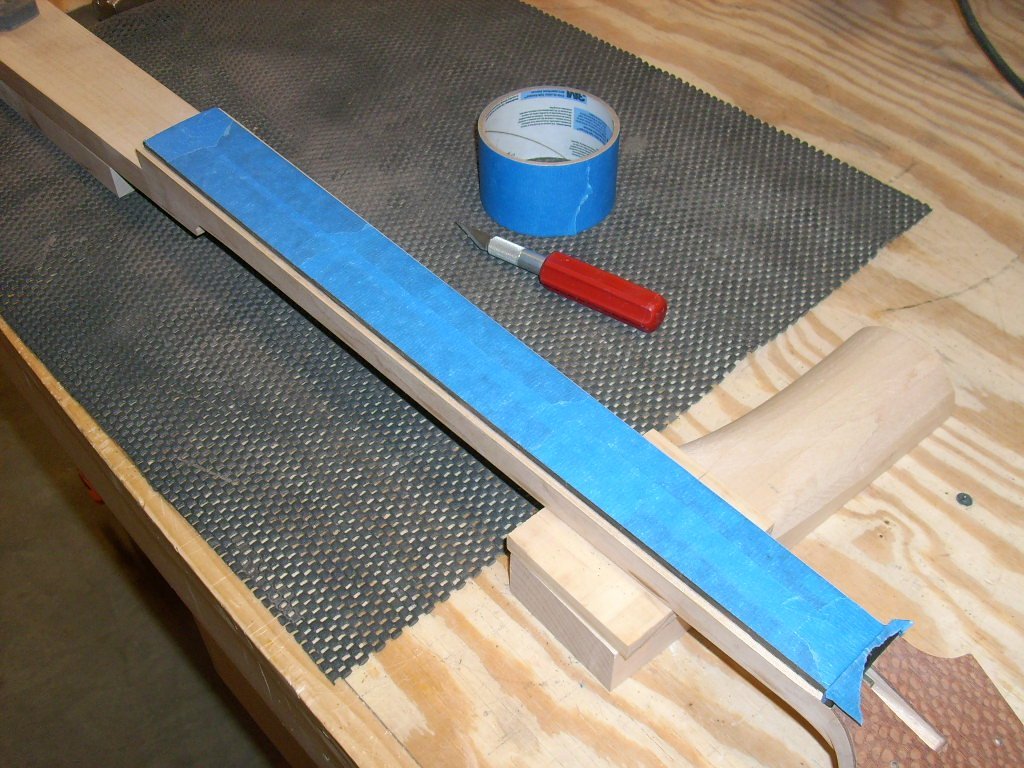
  Tape
off the fretboard to avoid any glue squeezing out where you don’t
want it to. Tape off just the top, obviously, since you will be
applying glue to the sides of the fretboard. Apply a thin layer of
glue to the sides of the banding and set them. Use a about a
thousand clamps and clamping blocks to apply even pressure. Let this
dry for at least an hour, preferably two. Remove the clamps and
clean up any glue ooze. Tape
off the fretboard to avoid any glue squeezing out where you don’t
want it to. Tape off just the top, obviously, since you will be
applying glue to the sides of the fretboard. Apply a thin layer of
glue to the sides of the banding and set them. Use a about a
thousand clamps and clamping blocks to apply even pressure. Let this
dry for at least an hour, preferably two. Remove the clamps and
clean up any glue ooze.
|
  Using
the contoured sanding block again loaded up with some 60 grit, sand
the top of the banding down to the level of the fretboard. Sand both
sides and the end of the neck with a flat sanding block with 60
grit. Using
the contoured sanding block again loaded up with some 60 grit, sand
the top of the banding down to the level of the fretboard. Sand both
sides and the end of the neck with a flat sanding block with 60
grit. |

 We
had some quilted maple leftover from the front body panel. It’s an
attractive hard wood so it seemed appropriate to use that for the
banding. Plane and rip a small piece of wood to about 1mm over width
and height. These are thin strips (ours were only about 3mm wide),
so be careful when making the cuts. Cut a couple of extras so you
can pick the best ones to use.
We
had some quilted maple leftover from the front body panel. It’s an
attractive hard wood so it seemed appropriate to use that for the
banding. Plane and rip a small piece of wood to about 1mm over width
and height. These are thin strips (ours were only about 3mm wide),
so be careful when making the cuts. Cut a couple of extras so you
can pick the best ones to use.
 Plane
and sand the sticks to clean off any saw marks. Cut the sticks to
length with a fine-tooth blade and a miter box. Don’t try this on
the big chop saw; it will shred the edge.
Plane
and sand the sticks to clean off any saw marks. Cut the sticks to
length with a fine-tooth blade and a miter box. Don’t try this on
the big chop saw; it will shred the edge.
 Tape
off the fretboard to avoid any glue squeezing out where you don’t
want it to. Tape off just the top, obviously, since you will be
applying glue to the sides of the fretboard. Apply a thin layer of
glue to the sides of the banding and set them. Use a about a
thousand clamps and clamping blocks to apply even pressure. Let this
dry for at least an hour, preferably two. Remove the clamps and
clean up any glue ooze.
Tape
off the fretboard to avoid any glue squeezing out where you don’t
want it to. Tape off just the top, obviously, since you will be
applying glue to the sides of the fretboard. Apply a thin layer of
glue to the sides of the banding and set them. Use a about a
thousand clamps and clamping blocks to apply even pressure. Let this
dry for at least an hour, preferably two. Remove the clamps and
clean up any glue ooze.
 Using
the contoured sanding block again loaded up with some 60 grit, sand
the top of the banding down to the level of the fretboard. Sand both
sides and the end of the neck with a flat sanding block with 60
grit.
Using
the contoured sanding block again loaded up with some 60 grit, sand
the top of the banding down to the level of the fretboard. Sand both
sides and the end of the neck with a flat sanding block with 60
grit.


