 |
||
| Beauty is in the details. Click on the photos to see them in a larger size. Use your browser's "Back" button to return. | ||
| July 4, 2016 | ||
 Welcome,
Rich & Dana! Welcome,
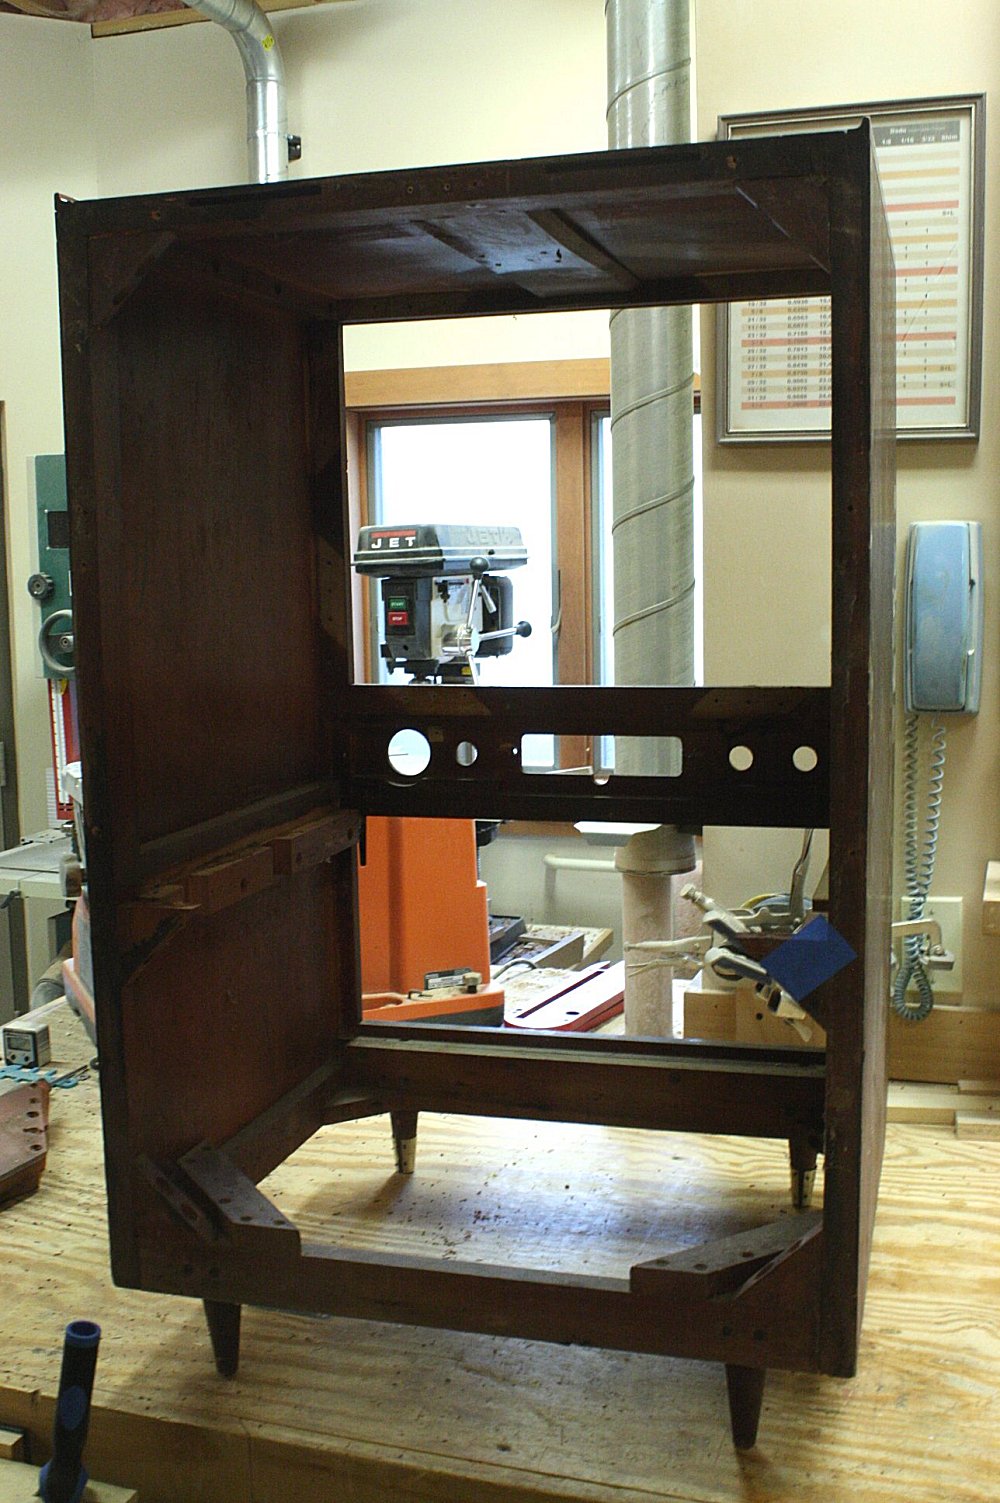
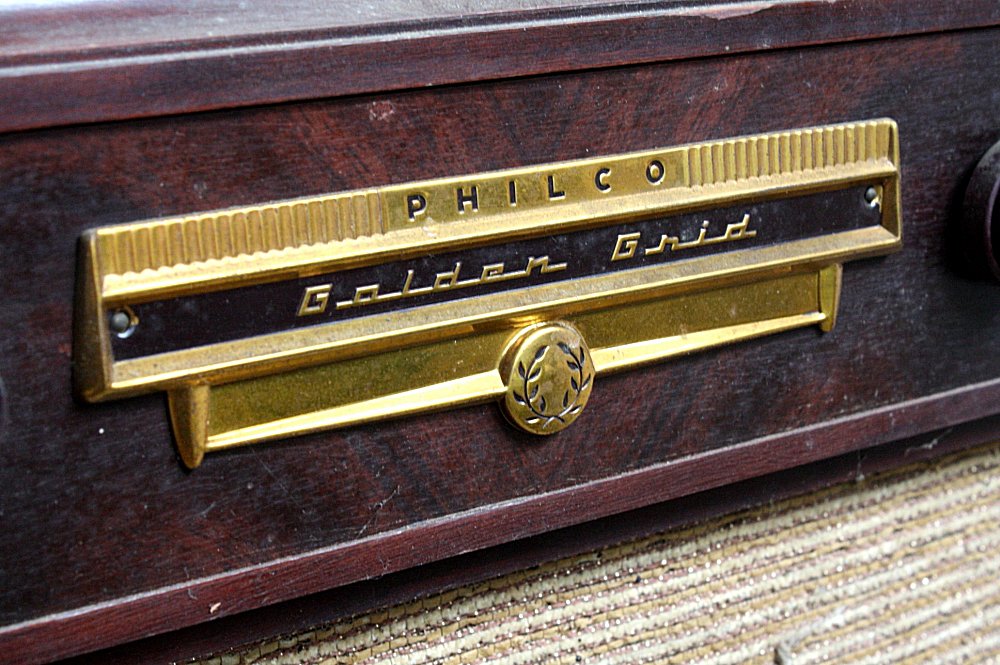
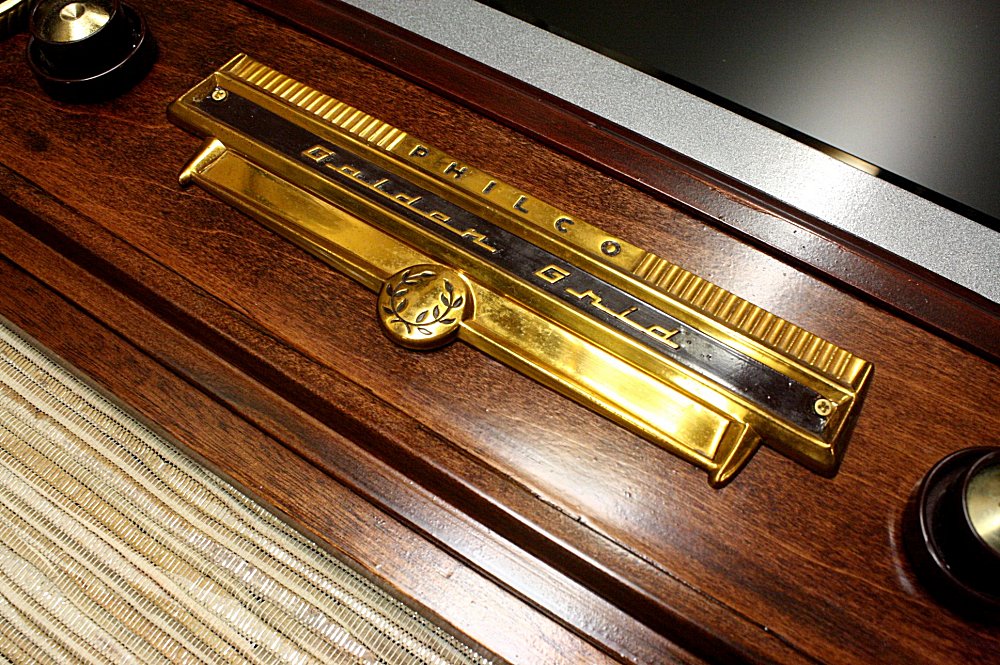
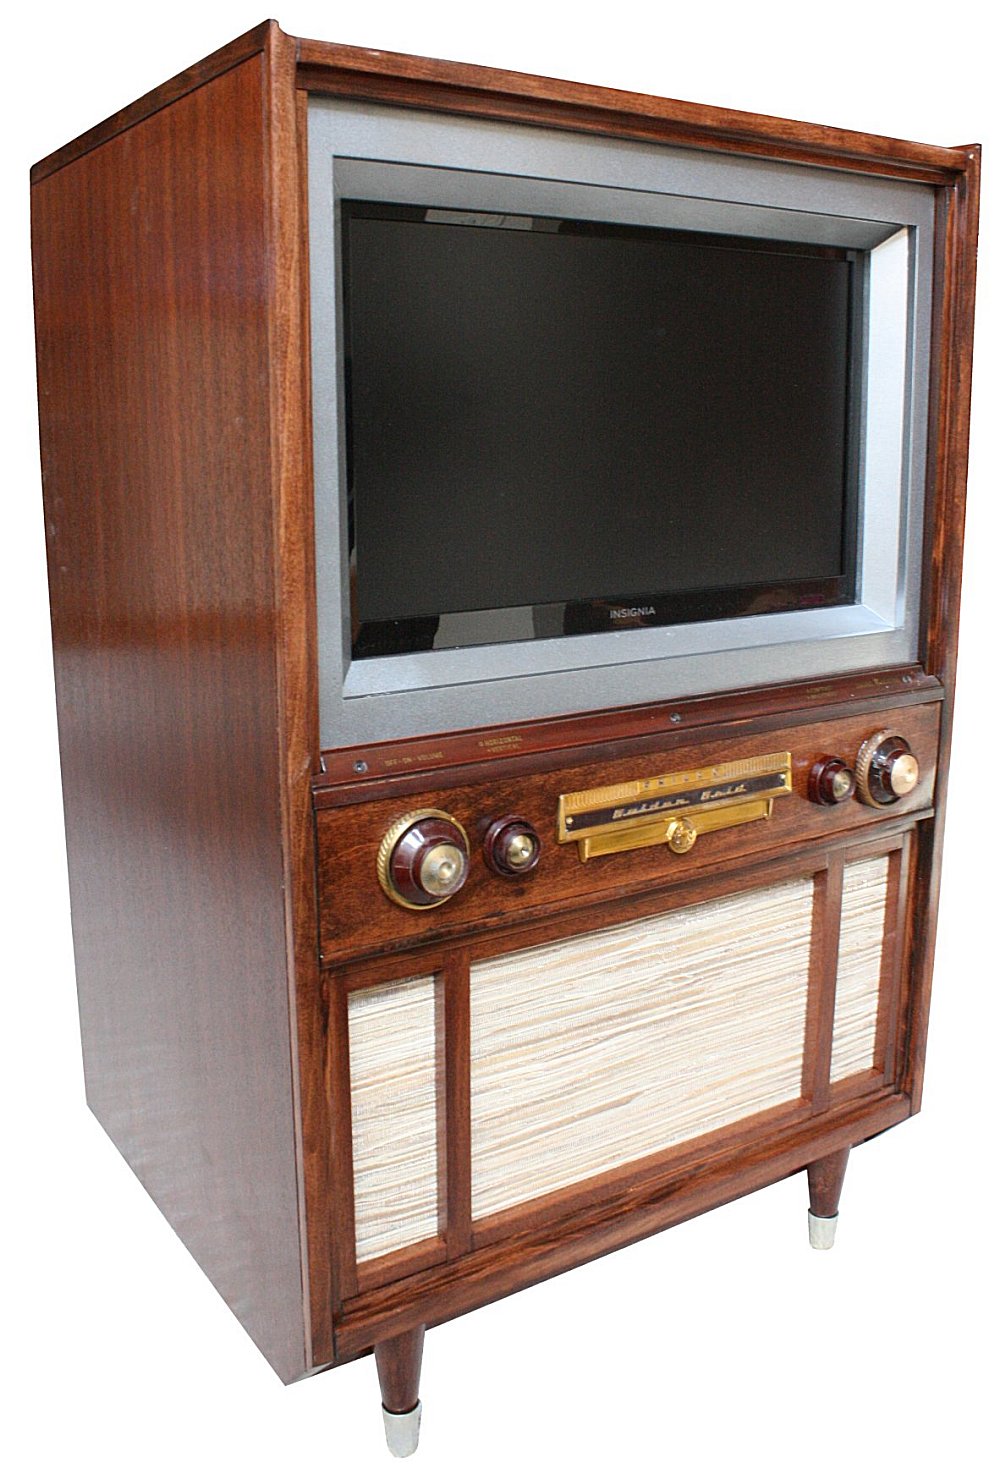
Rich & Dana!This couple came to own Grandma's mid-50's television, a Philco Golden Grid. No, it doesn't work anymore, and it has certainly seen better days. My job is to restore it to its original glory. The TV components are shot, so I will be taking out all the electronic guts and replacing them with a modern flat-panel TV. The mahogany case will be completely refinished. I'll take it down to bare wood, maybe stain it, maybe not, we'll see what things look like when I get there. The original silver screen bevel is in good condition; however, it is molded in a round shape that fits the original cathode ray tube. It won't really fit a flat panel with a wider screen aspect ratio. I'll find some way to mimic the feature. The knobs won't do anything anymore. They were hooked up to the old electronics. If I can find a way to make one or two functional again, I'll do it. Maybe hook the new power supply back up somehow. Otherwise they will just get glued back on to the front. The old speaker will be taken out. I'll see if I can find some replacement material for the bottom-front. Maybe we'll make that into a drawer or something...or maybe I'll stick in a 4000 watt sound system. I'll update things here periodically so you can see the progress. Feel free to share this link with your family and friends. And you can always click on any of these thumbnails for the hi-res photos. |
||
| July 8, 2016 | ||
  Now
you see it; now you don't. when you don't have to be careful
saving the insides, things will come out fairly quickly. I
didn't have to take extensive notes on how this would all go back
together. Now
you see it; now you don't. when you don't have to be careful
saving the insides, things will come out fairly quickly. I
didn't have to take extensive notes on how this would all go back
together.Some folks think that because something is old, it is built much better. I've often found that they pinched pennies just as much back in the day. Check this out, the antenna was just some tin foil stapled to the top. That tube in the middle was something like the center of your paper towels, but they did spray paint it silver. Once I got all the electronics out, I had to slow down and be careful with the wood parts. When dissecting something like this, you never know if the parts are nailed, screwed, and/or glued. I didn't want to damage any of the wood we'll be reusing. This looks like a good place to stop for now. The inside is nearly clean, but I'll maybe use those mid-side rails to mount the new stuff. |
||
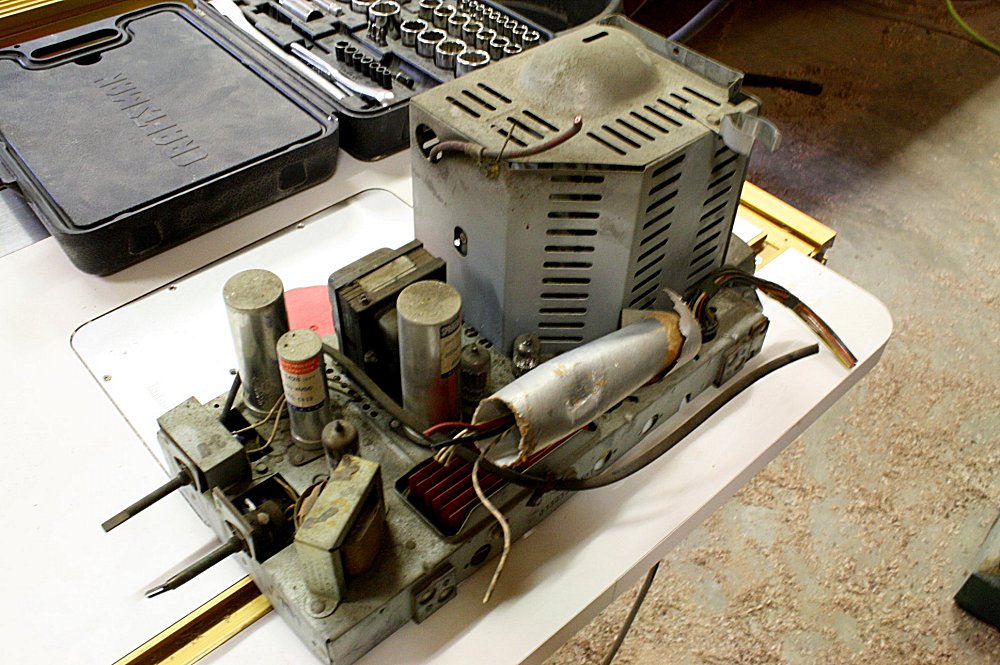 ▲ Toilet paper tube, why not? Just paint it silver and it will look hi-tech. |
 ▲ Let's hold this 20 pound glass thingy up with some fabric straps. Those couldn't possible rot with all the heat this thing will generate. |
 ▲ This will buff out nicely. There's some really nice wood behind there. |
| July 28, 2016 | ||
  Stripping
an old finish is not a glamorous job. People see the final
product and they're, like, "Wow!" But if they saw what you
have to do to get there, they'd never do it themselves. Stripping
an old finish is not a glamorous job. People see the final
product and they're, like, "Wow!" But if they saw what you
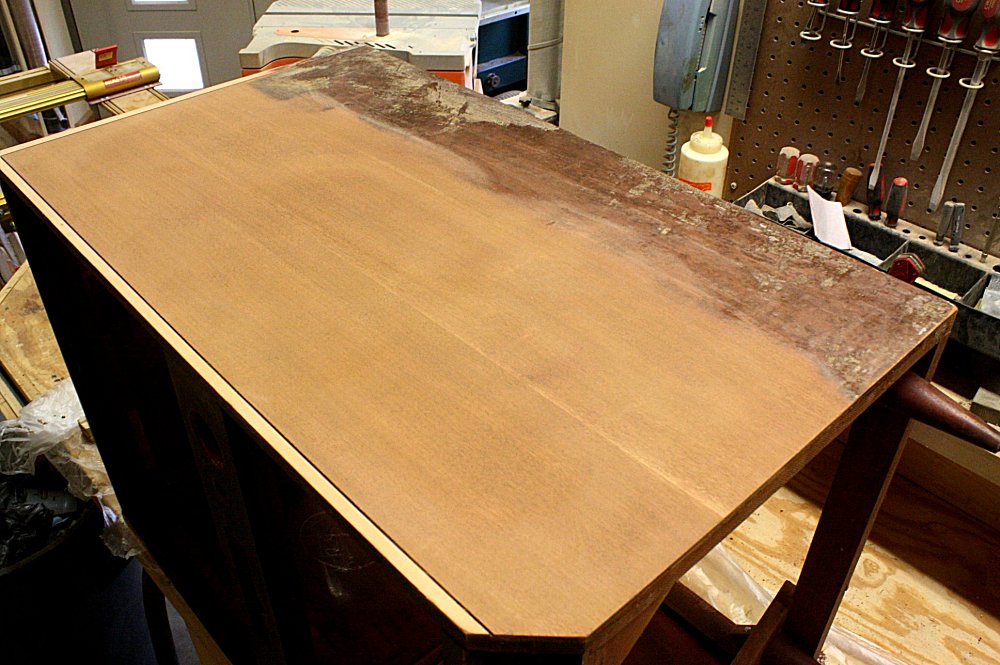
have to do to get there, they'd never do it themselves.Although messy, it's actually pretty simple: apply toxic chemicals, wait for it to turn the finish to goo, then scrape it all off. Under that dark and grimy finish (and about 300 coats of Grandma's Lemon Pledge) I uncovered a mahogany case. Surprisingly, I found poplar trim on the corners and on the front control panel. That's not bad, just unexpected. Stripping the case went pretty fast, but getting into all the tight corners and around the trim details got a bit tedious. What people may not know is that stripper removes the clear finish (like polyurethane or lacquer). It does not remove the stain. So next up was the first round of sanding to remove the stain and any residual finish the stripper missed and to smooth everything out. |
||
| August 2, 2016 | ||
 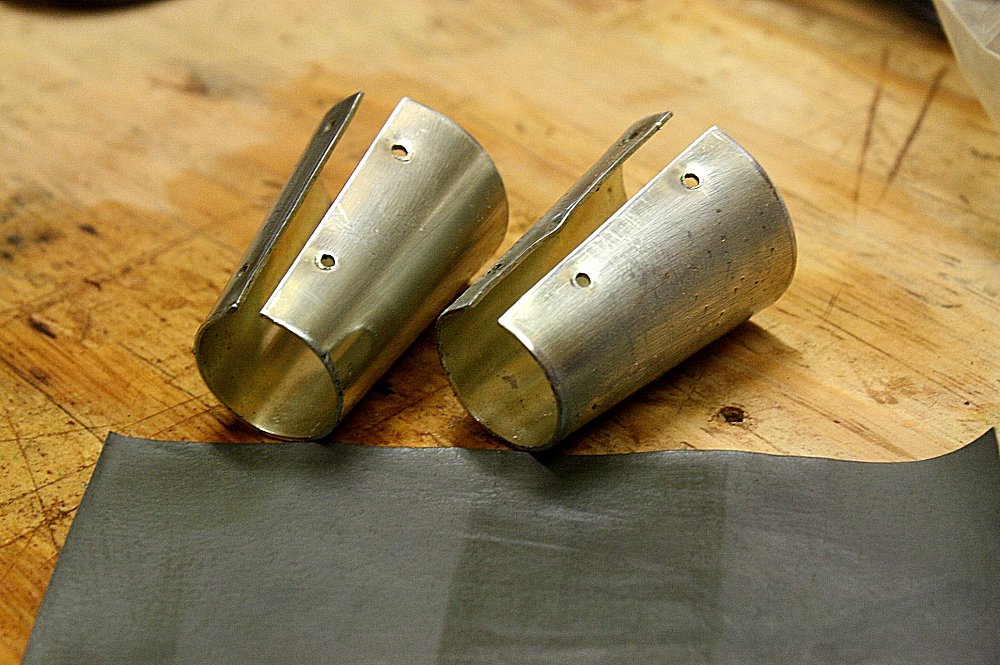 While
the stripper did her thing, I went ahead and buffed a couple out
(could I squeeze any more pun into that?). Yes, there were
brass feet on this piece. They were pretty tarnished, but a
little elbow grease got them all shiny again. While
the stripper did her thing, I went ahead and buffed a couple out
(could I squeeze any more pun into that?). Yes, there were
brass feet on this piece. They were pretty tarnished, but a
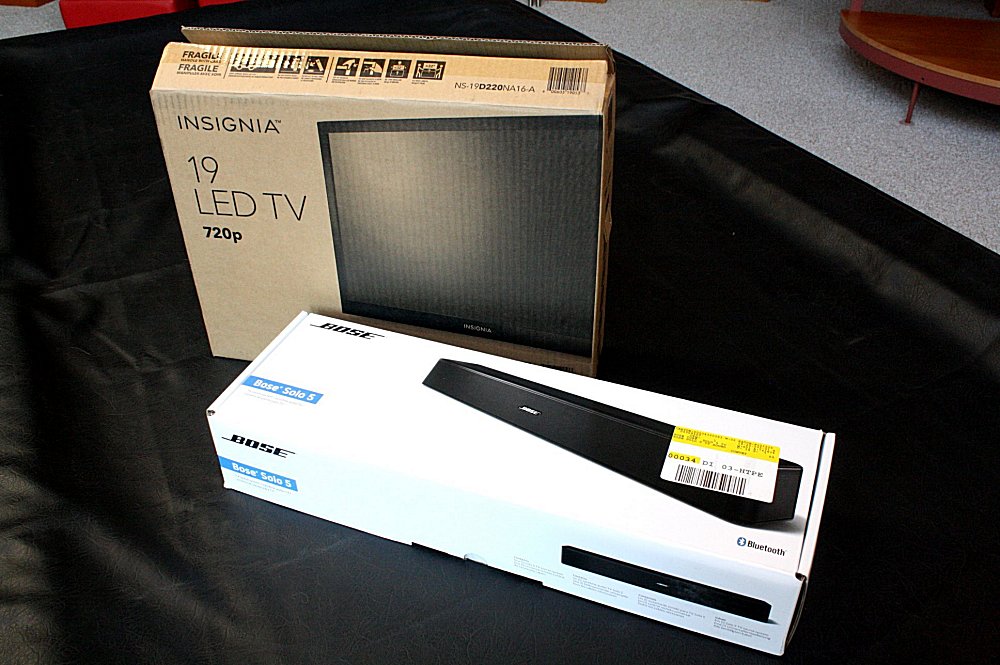
little elbow grease got them all shiny again.The concept was to gut the existing inner workings and replace them with modern, more functional electronics. I found a small, flat panel TV that would fit, but all the flat panels have their speakers out the bottom (if they have speakers at all). That wouldn't work very well with the TV being mounted inside a closed case, now would it? So let's just go ahead and install a Bose sound bar!? It will connect easily to the TV, it has an auto-on feature that will power them up automatically, plus you can Bluetooth your smart phone with it and seriously crank out some tunes. Just because this thing will look vintage doesn't mean it cant' rock da house. |
||
| August 9, 2016 | ||
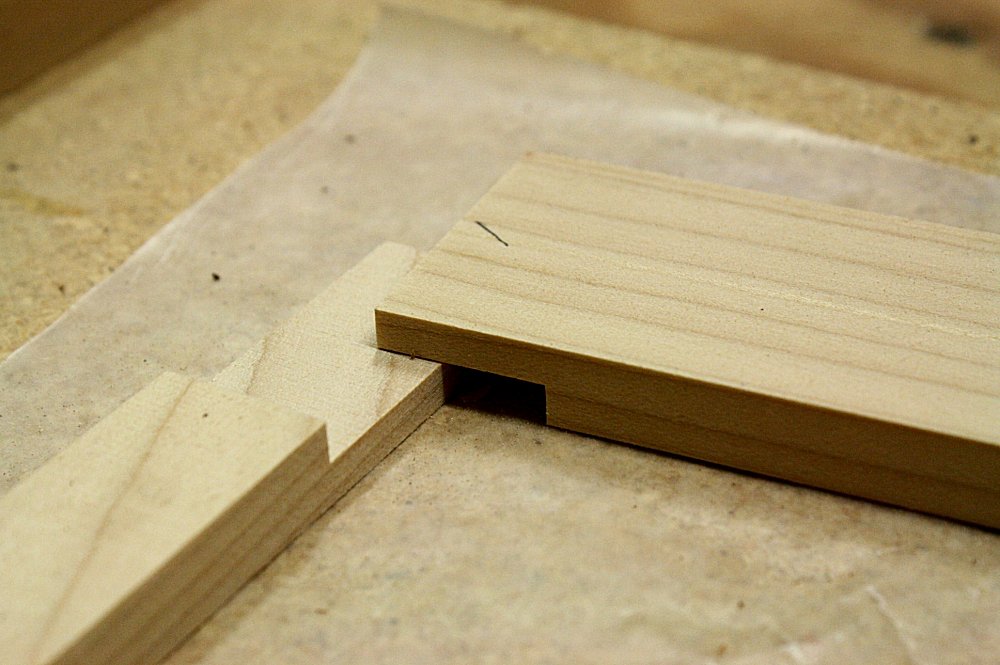
|
The old case survived 50 years, but her old glued joints just
weren't as strong as they used to be. I (quite easily) removed
the old corner blocks and replaced them with some new sturdy back
braces, which will hold her square for another 50 years. If you look back at that first blog photo above, you'll see a silver, beveled frame around the TV screen. The new flat panel is not the same proportions and it's much flatter than the original CRT screen. The old bevel wouldn't fit. It's not like you can go to the store and buy a replacement, so I had to make one from scratch. I used strong half-lap joinery in the corners, and I had to make all the little pieces that would hold the TV snug and secure to the front frame. This demands a very precise fit |
 |
  |
| August 14, 2016 | ||
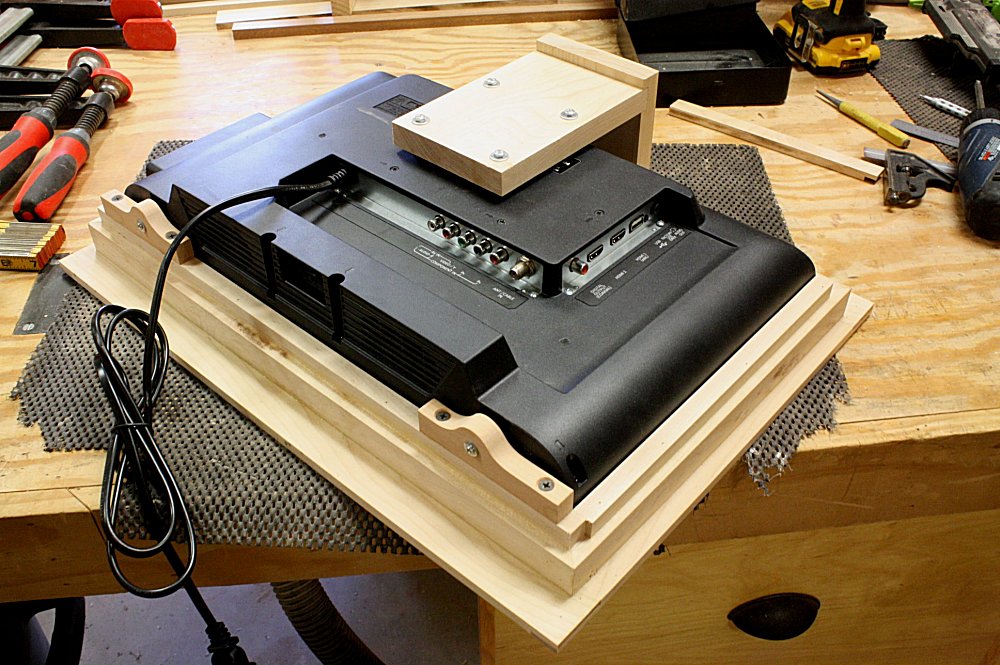
  It's
time for a little dress rehearsal. I need to be sure
everything fits before I start the finishing process. Once the
stain is on there, you don't want to be cutting any more. I
think it's looking pretty sharp. It's
time for a little dress rehearsal. I need to be sure
everything fits before I start the finishing process. Once the
stain is on there, you don't want to be cutting any more. I
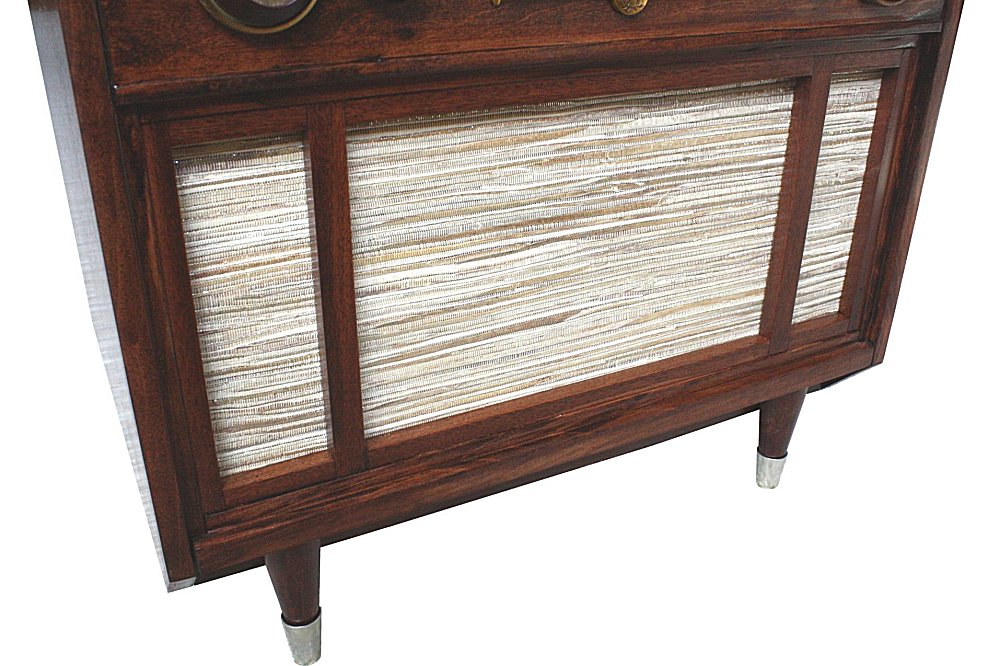
think it's looking pretty sharp.The original cloth speaker cover was pretty funky, and it was glued to some cardboard. I had a difficult time finding just the right fabric to replace it with. None of the fabric stores had anything with that certain pizzazz - until I happened to spot a table placemat at Bed, Bath & Beyond that was a perfect match! See that glitzy gold thread in there? I whipped up a mounting frame and stuck'er in. Next up was mounting the sound bar in the bottom of the cabinet. I suppose I could have just set the speaker in there, but it would have gotten jostled around. This case will likely be sitting on the floor, so I made one that tilted the speaker up just a bit so it would project up towards your ears. I also mounted a strip surge inside the case to power everything up, but it's behind that bottom brace where you can't see it. |
||
| August 20, 2016 | ||
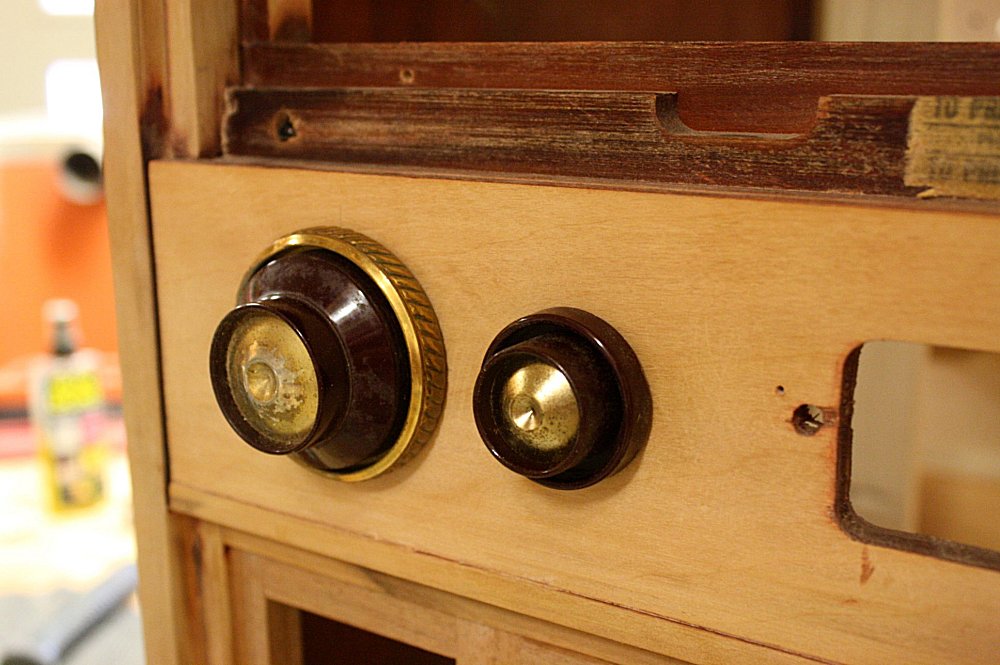 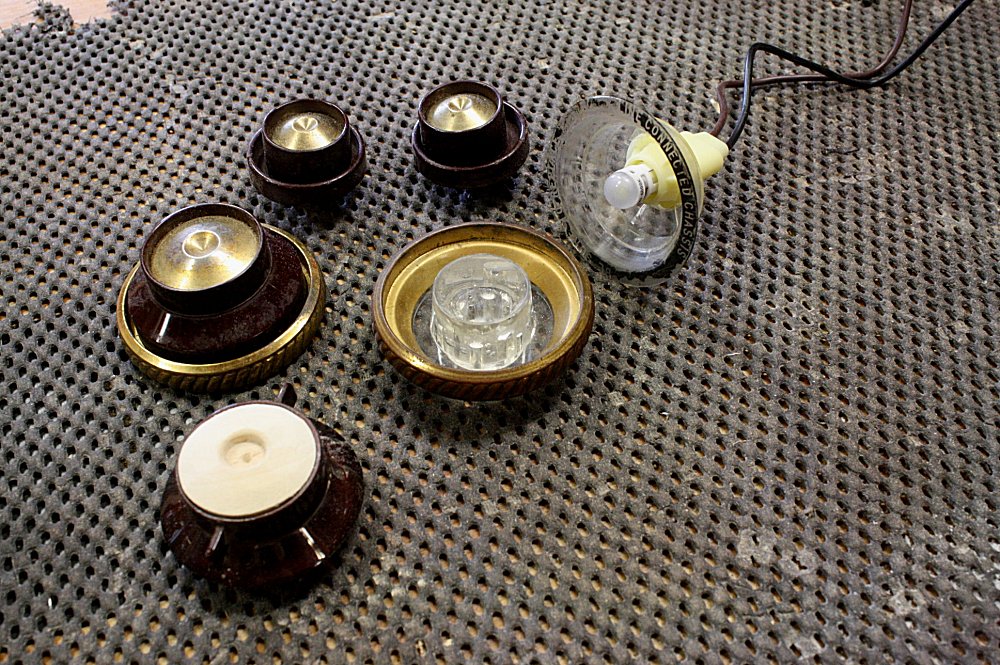 A
key adornment on old furniture is the hardware, in this case the
knobs. I carefully cleaned them all, but not so aggressively
as to remove the original paint. One knob was missing a cap,
so I replicated one of the other brass caps in wood. It will
get a coat of metallic paint so it matches. A
key adornment on old furniture is the hardware, in this case the
knobs. I carefully cleaned them all, but not so aggressively
as to remove the original paint. One knob was missing a cap,
so I replicated one of the other brass caps in wood. It will
get a coat of metallic paint so it matches.While cleaning, I also found the channel selector actually lit up. Unfortunately you can't get a replacement bulb assembly these days. After some searching, I found a small automotive bulb that (with a little gentle filing to the housing) was a perfect fit. Now I just need a way to power it up. Since I gutted all the inner electronics, there were no longer any switch pots to hold the knobs in place. I had to go switch by switch and find a creative way to hold it in place, but where it was still removable so I could stain and spray the finish on later. The big knob here got a wood plate epoxied to the inside of it where a couple screws could grab it from the back. The smaller knob had two functions; the inner knob and outer ring were separate. I got one big screw through the middle to clamp the knob to the ring and hold it all tight. |
||
| August 23, 2016 | ||
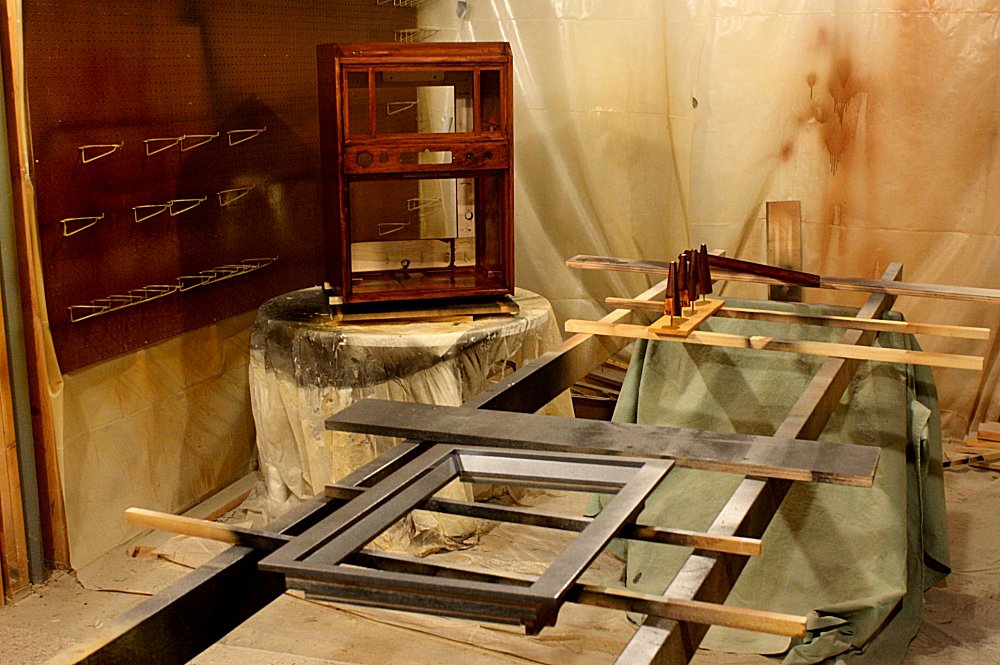  Rich
& Dana chose to stain it up just like the original, so Red Mahogany
it is. It'll look similar to the original, but the finish will
be fresh and new and super smooth. Rich
& Dana chose to stain it up just like the original, so Red Mahogany
it is. It'll look similar to the original, but the finish will
be fresh and new and super smooth.Then it was off to the finishing booth to spray on some polyurethane top coats. The TV's beveled plate (in the foreground) got a metallic paint to kinda mimic the original plastic bevel. It'll give it that retro flare. |
||
| August 28, 2016 | ||
 This
will be the last post before I hand this piece of art back over to
the Havens'. We won't spoil Christmas morning by giving away
all the surprises. This
will be the last post before I hand this piece of art back over to
the Havens'. We won't spoil Christmas morning by giving away
all the surprises.I put everything back together. Luckily it all fit like it was supposed to. This thing looks better than the original. It still retains all of it's vintage charm, but with an updated (working) TV and a killer sound system. It will look awesome, and be fully functional, too. Great, fun project! Stay tuned for the unveiling. |
||
| September 1, 2016 | ||
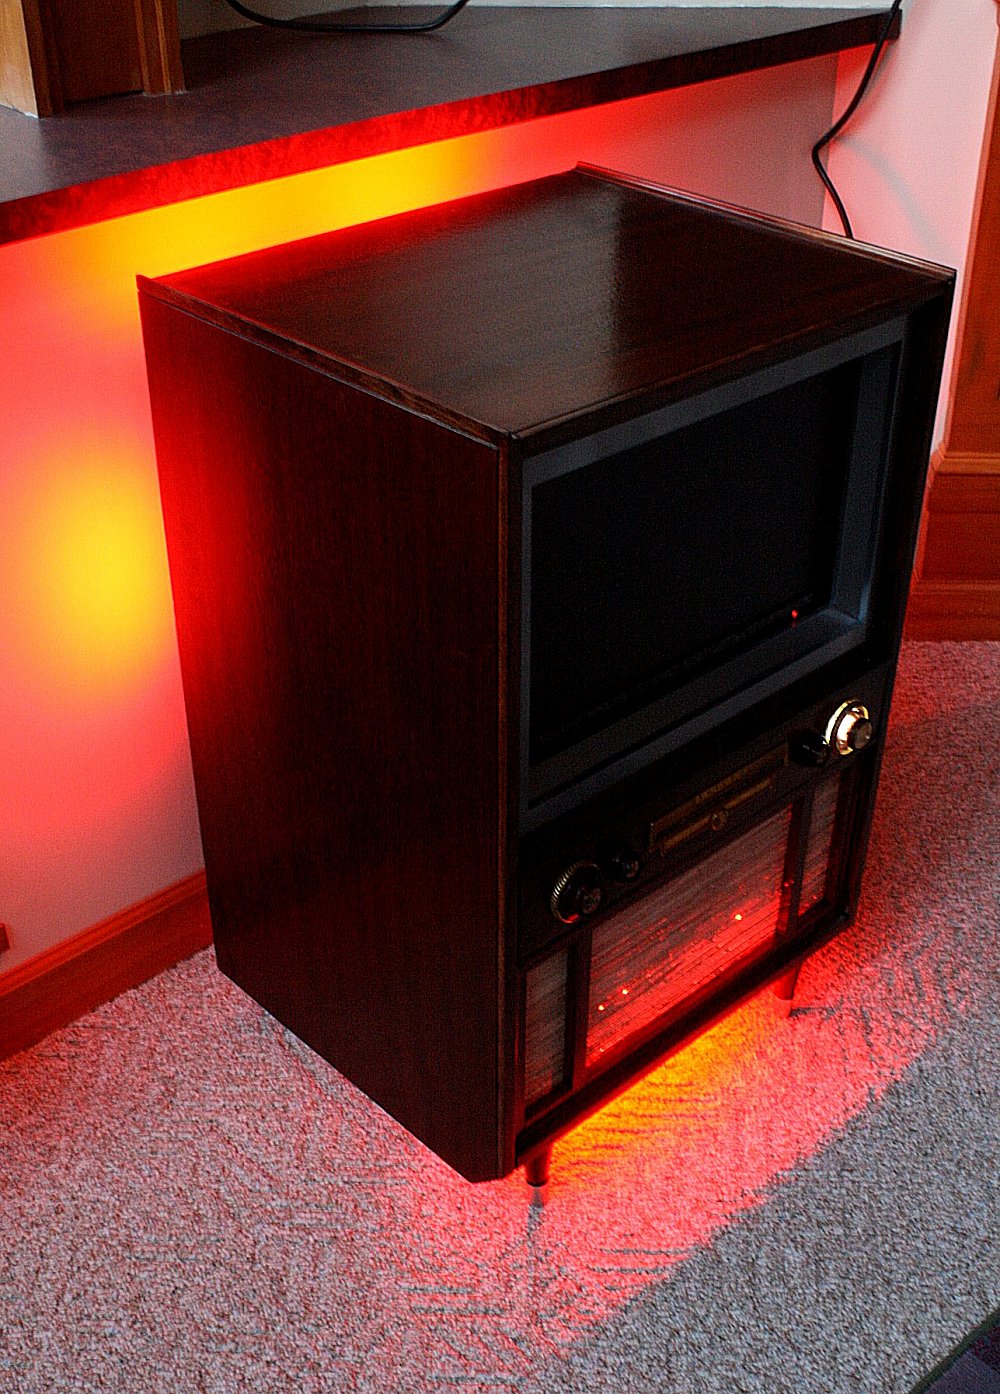  Folks,
this is what you call a spectacular restoration. Rich & Dana
gave me free reign (and a generous budget) to make this a focal
point. I think this far exceeded their expectations. Folks,
this is what you call a spectacular restoration. Rich & Dana
gave me free reign (and a generous budget) to make this a focal
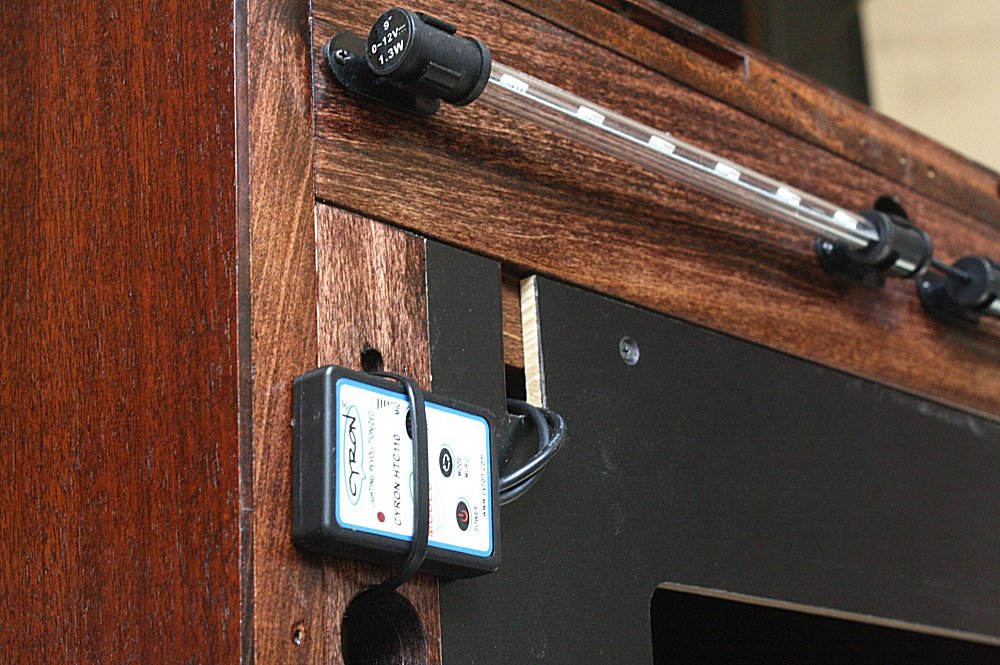
point. I think this far exceeded their expectations.Here are the highlights: ● All the mahogany was stripped bare and re-stained back to its original glory. ● The original electronics were removed and replaced with a new flat panel TV and a Bose sound bar. ● A new custom fit TV bevel was made and painted a metallic silver to mimic the original. ● The original knobs were retained. One lights up and another was retrofit to control the back lighting. ● Speaking of back lighting, I installed LED strips on the back, the bottom, and even inside. Why the hell not? This baby glows, and the lighting can be programmed for a solid color, it can fade through the spectrum, and it can even dance to the beat of the music. |
||
 |
 |
 |
|
There was some old decaying cloth that covered the speaker
compartment. I couldn't find fabric that matched the original,
but I was able to find a table place mat that was almost a perfect
replica. The modern lighting controls were concealed on the
back, but still within easy reach. The TV and the speaker
needed custom fit mounting panels that interfaced with the original
case. Everything fits perfectly. Over the top? You bet your ass! Taking a project to the next level is what I do. People won't expect this TV to even work at all. Then Rich & Dana will show them a high quality colored picture, a sound system that will rip their heads off, and even a freakin' light show. Outstanding! |
||


