|
Brian's Guitar from Conception to Birth
or How to Build a Guitar in 62 Easy Steps! |
|
7
Cut Out the Body Shape |
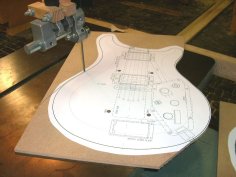 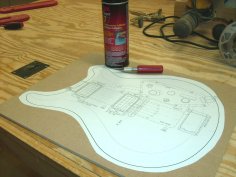 This
is the point you’ve been waiting for. You will finally see what the
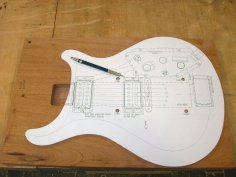
final product will look like. Cut out your paper pattern about 12mm
outside the final shape. Use spray adhesive to mount this to some
1/4" thick MDF. Drill your dowel locations through the template. On
the bandsaw, cut about 2mm outside your pattern line. This
is the point you’ve been waiting for. You will finally see what the
final product will look like. Cut out your paper pattern about 12mm
outside the final shape. Use spray adhesive to mount this to some
1/4" thick MDF. Drill your dowel locations through the template. On
the bandsaw, cut about 2mm outside your pattern line. |
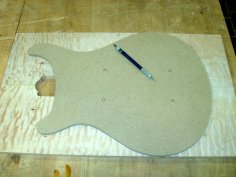
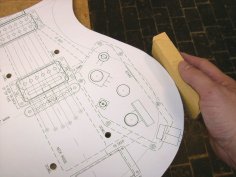 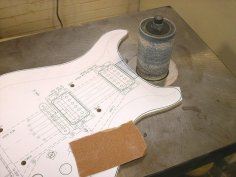 Now
sand right up to your line with an oscillating spindle sander. You
can also you a sanding drum mounted in your drill press. Or you can
use some good old-fashioned elbow grease and a sanding block. Sand
just enough to remove your line. The curves should feel smooth to
the touch. This will be your final template for the body, so take
some time to get it just right. Now
sand right up to your line with an oscillating spindle sander. You
can also you a sanding drum mounted in your drill press. Or you can
use some good old-fashioned elbow grease and a sanding block. Sand
just enough to remove your line. The curves should feel smooth to
the touch. This will be your final template for the body, so take
some time to get it just right. |
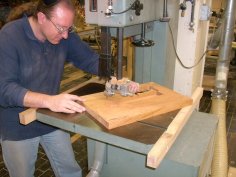  Place
the template onto the back body panel using the locating dowels.
Trace around the template. On the band saw, cut about 2mm outside
your line. Place
the template onto the back body panel using the locating dowels.
Trace around the template. On the band saw, cut about 2mm outside
your line. |
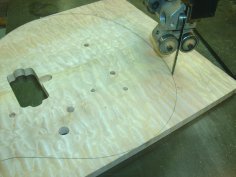  Repeat
the procedure for the top body panel. Remember your dowels are on
the “inside” face so flip your template upside-down and trace.
Again, use the band saw and cut about 2mm outside your line. Repeat
the procedure for the top body panel. Remember your dowels are on
the “inside” face so flip your template upside-down and trace.
Again, use the band saw and cut about 2mm outside your line. |
 |
 |
 |
|
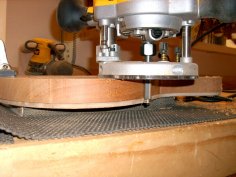
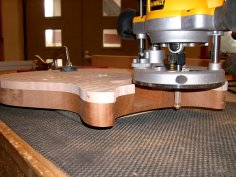
Place your template onto the back body panel using the locating
dowels. Place the panel template-side-down on an elevated, padded
piece of plywood and clamp it to your workbench. Use a long flush cut
router bit with a bearing on the bottom which will follow your
template. Cut halfway around, turn the piece and re-clamp so you can
finish the full perimeter. Now un-clamp, flip the unit over, and
remove the template. Place the front body panel over the back body
panel onto the locating
dowels and re-clamp. Our body design has the neck penetrating into
the body cavity. So I had to set the bearing-guided bit low enough
to ride the body shape without slipping into the cavity. Rout all
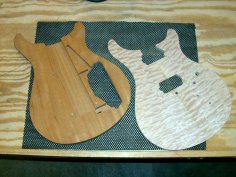
the way around just like the last time. Now you will have two
perfectly mated panels at their final shape. |