|
Brian's Guitar from Conception to Birth
or How to Build a Guitar in 62 Easy Steps! |
|
8
Make the Control Cavity Cover |
The easiest way to do this is to use the same template you used to
cut the control cavity cover ledge earlier on the back of the
guitar. The template was made to the exact size and shape of the
final product. So using a little math (remember that class) you can
come up with a way to use guide bushings to repeat the exact shape.
Our cover will be made from mahogany to match the body panel, but
this process will work with whatever material you choose; the
concept is the same.
|
 |
 |
 |
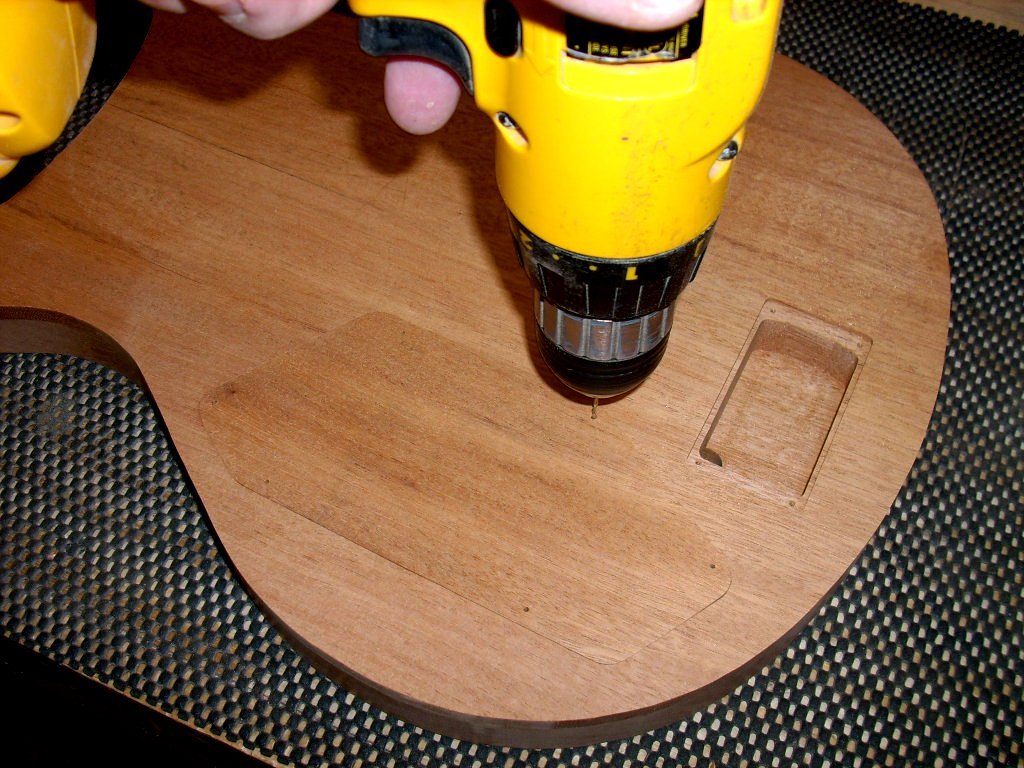
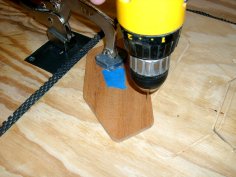
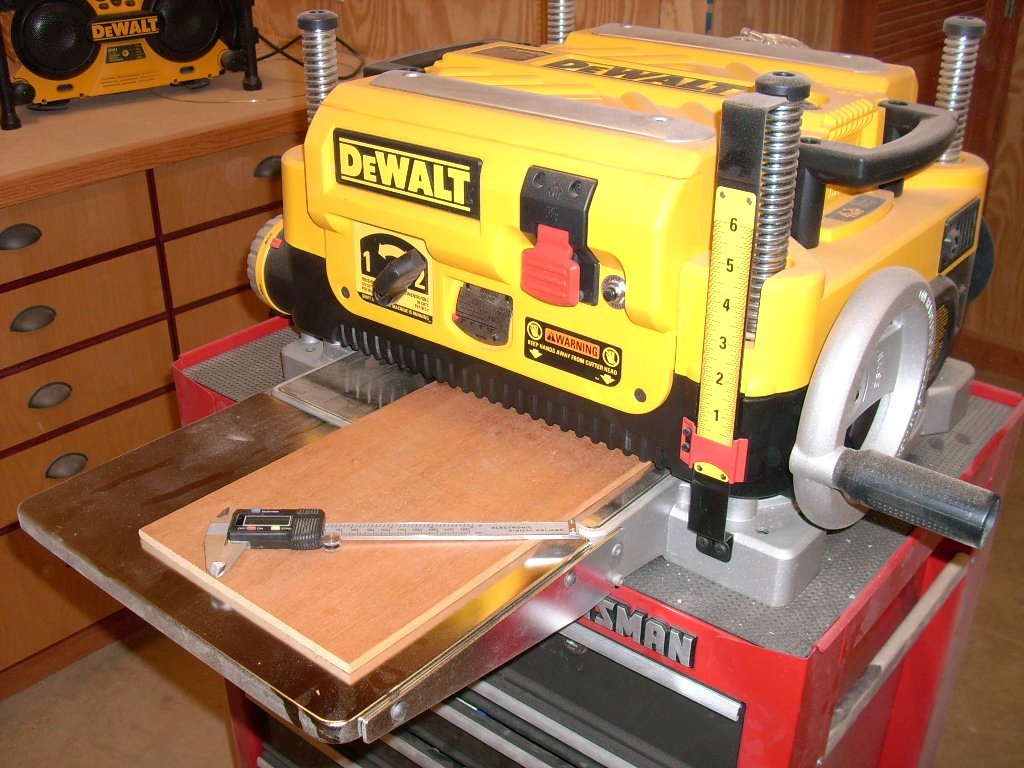
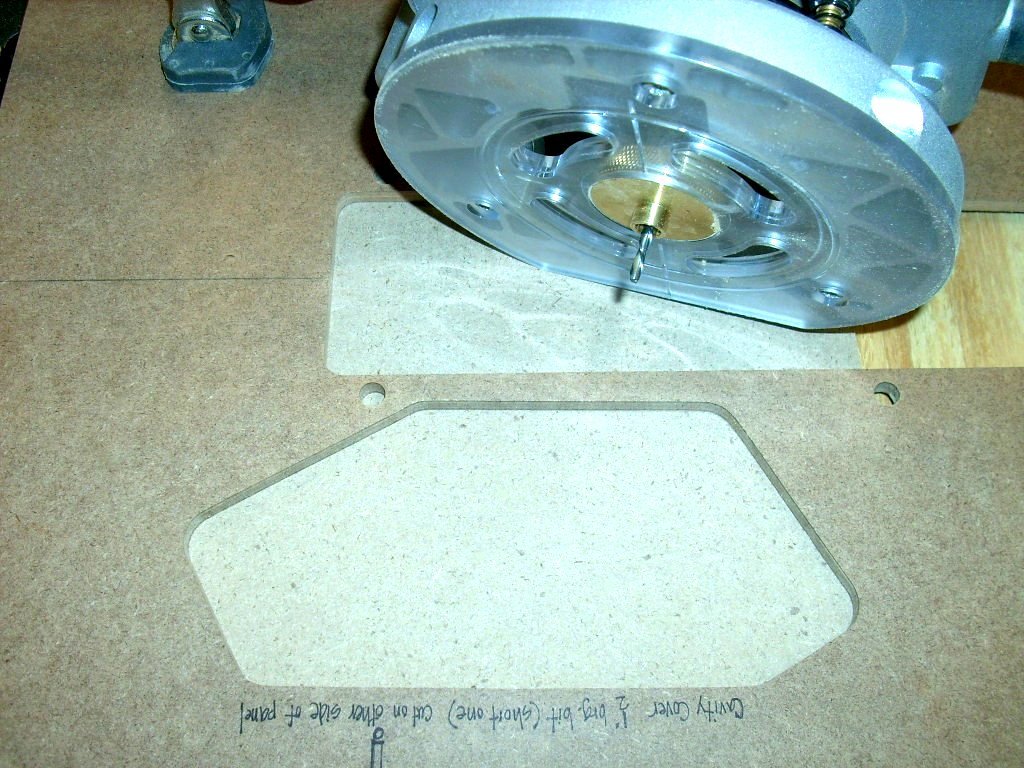
Plane the wood down to just barely over the exact thickness your
ledge is on the body. This will leave a little to sand off flush
later. You’ll be making a template using your original control
cavity cover template. Secure a piece of 1/4" MDF onto a scrap sheet
of plywood with double-sided tape as you will be cutting all the way
through. Remember to stick a piece of tape directly under your
cutout so it doesn’t catch the bit and go flying when it is
released. Mount your original template over the MDF with
double-sided tape. Setup your router with an 1/8" bit with a 3/8" OD
bushing. This will cut the same shape, but it will be 1/4" smaller
all the way. Now rout around the perimeter being careful not stray
inside fouling the template you’re making. Make a couple of light
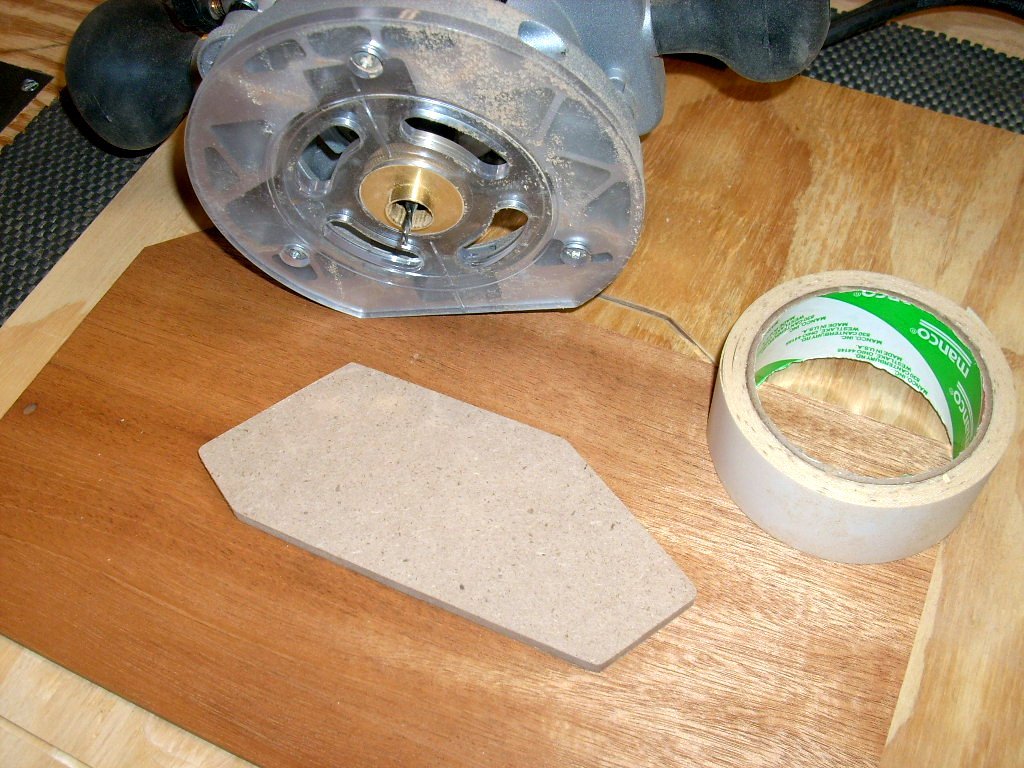
passes to release the new template. Mount this new template onto
your final material using double-stick tape. Remember to stick a
piece of tape directly under your cutout so it doesn’t catch the bit
and go flying when it is released. Install a 5/8" OD guide bushing
in the router, This will produce a 1/4" offset, which happens to be
exactly the size your template was cut shy in the previous step
resulting in an exact replica of your original shape.
|
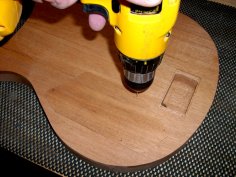
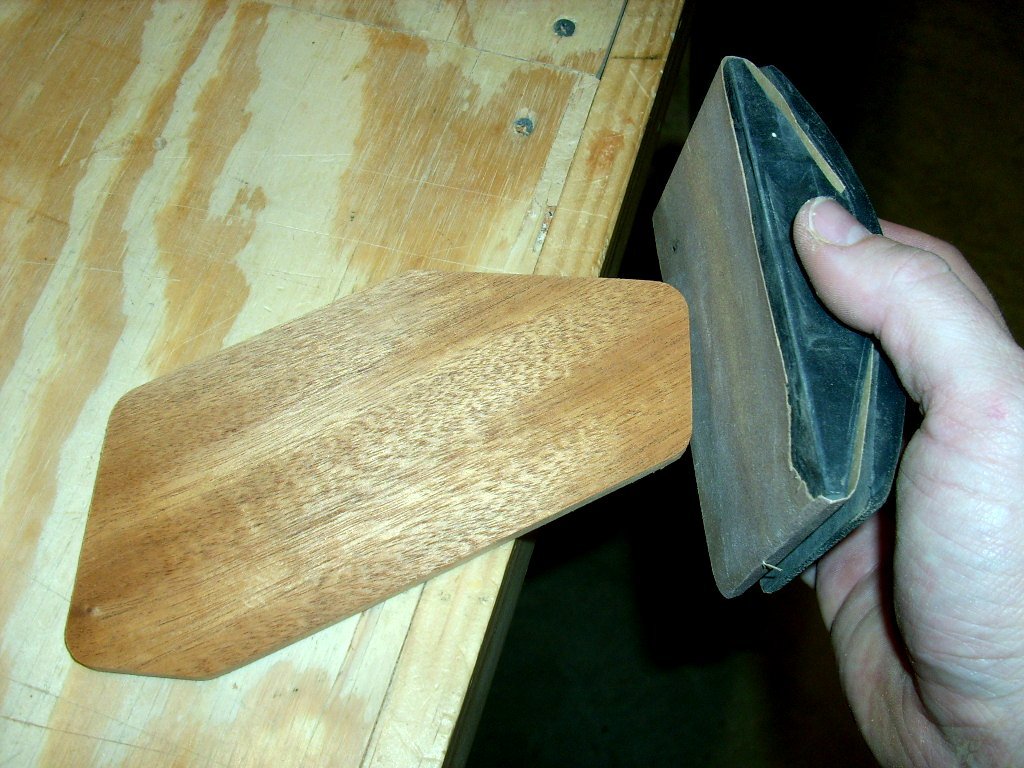
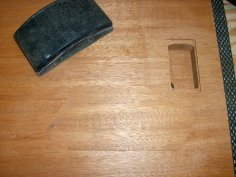  You
will need to sand a hair off the edges to fine tune the fit. It
shouldn’t be so tight you can’t get it out. Sand and test the fit
repeatedly so you sneak up on a fit which allows you to remove the
cover plate easily. With a little patience you will get it perfect.
You can’t even see a seam in the photo. You
will need to sand a hair off the edges to fine tune the fit. It
shouldn’t be so tight you can’t get it out. Sand and test the fit
repeatedly so you sneak up on a fit which allows you to remove the
cover plate easily. With a little patience you will get it perfect.
You can’t even see a seam in the photo. |
 |
 |
 |
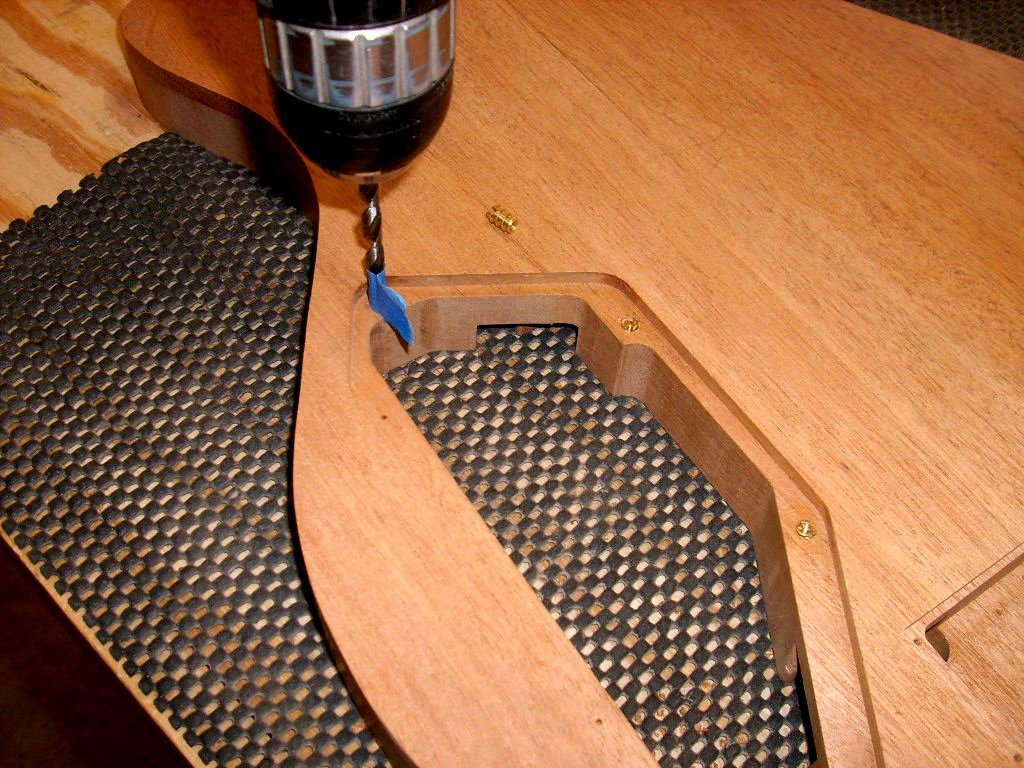
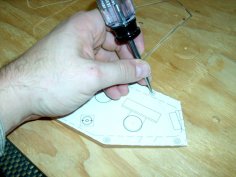
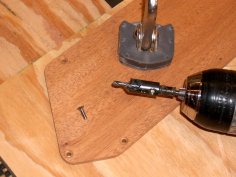
Cut the cavity cover from your paper pattern and position it onto
the actual cover to transfer the mounting screw locations with an
awl. Use a 1/16" drill bit to make pilot holes all the way through
the cover. Now place your cover onto the guitar. Use these holes to
locate and drill the holes into the guitar body. Only drill a very
shallow hole into the body (about 1/16" deep). We’re just locating
the holes at this point.
|
 |
 |
 |
|
Remove the cover plate and you will see exactly where to drill
deeper and wider for the mounting screw pilot holes. I’m using
threaded inserts which will never strip out, but the process is the
same if you’ll be screwing yours directly into the body. Gauge the
depth of the threaded inserts and add 1mm to the depth so you don’t
bottom out the inserts. Mark your drill bit with masking tape and
drill as straight in as you can. A drill press would make this
easier. Brass inserts are very soft, so thread them into the holes
very carefully with a hand screwdriver. Drill the holes in your
cover plate slightly larger than the screw's shank and countersink for the screw heads.
This is easy if you have a drill/ countersink bit. Mount your cover
plate and lightly tighten the screws. Notice I said, “lightly”. You
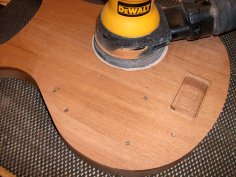
don’t need to torque these screws down. Sand the cover plate
perfectly flush to the body. |

 You
will need to sand a hair off the edges to fine tune the fit. It
shouldn’t be so tight you can’t get it out. Sand and test the fit
repeatedly so you sneak up on a fit which allows you to remove the
cover plate easily. With a little patience you will get it perfect.
You can’t even see a seam in the photo.
You
will need to sand a hair off the edges to fine tune the fit. It
shouldn’t be so tight you can’t get it out. Sand and test the fit
repeatedly so you sneak up on a fit which allows you to remove the
cover plate easily. With a little patience you will get it perfect.
You can’t even see a seam in the photo.