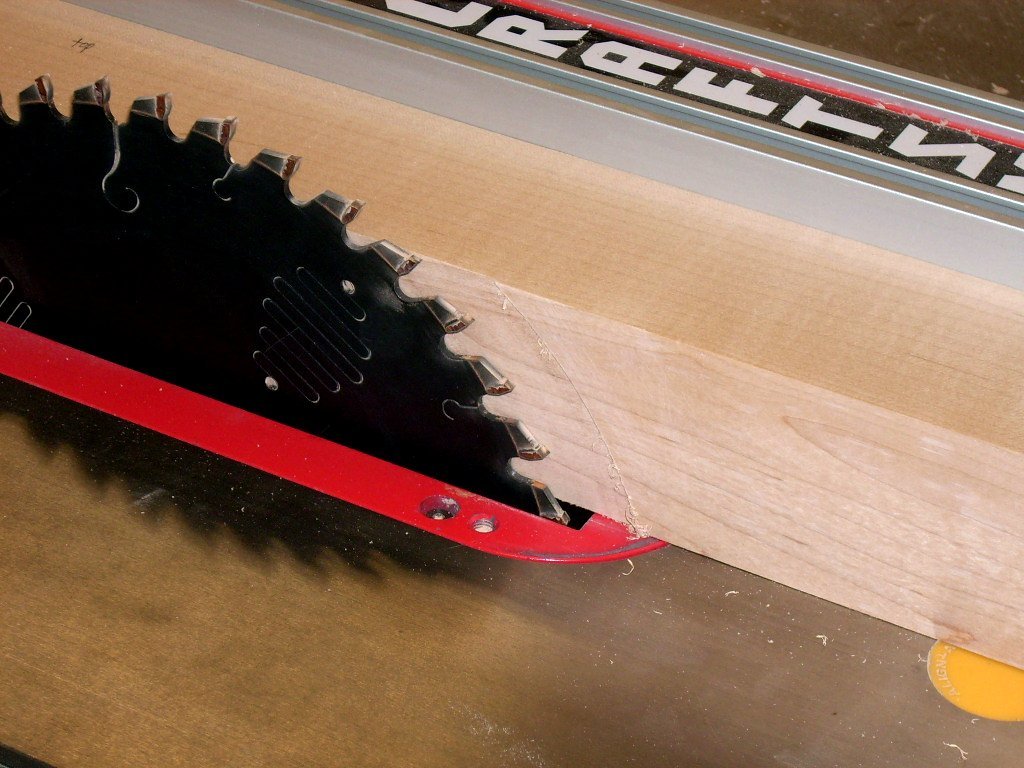
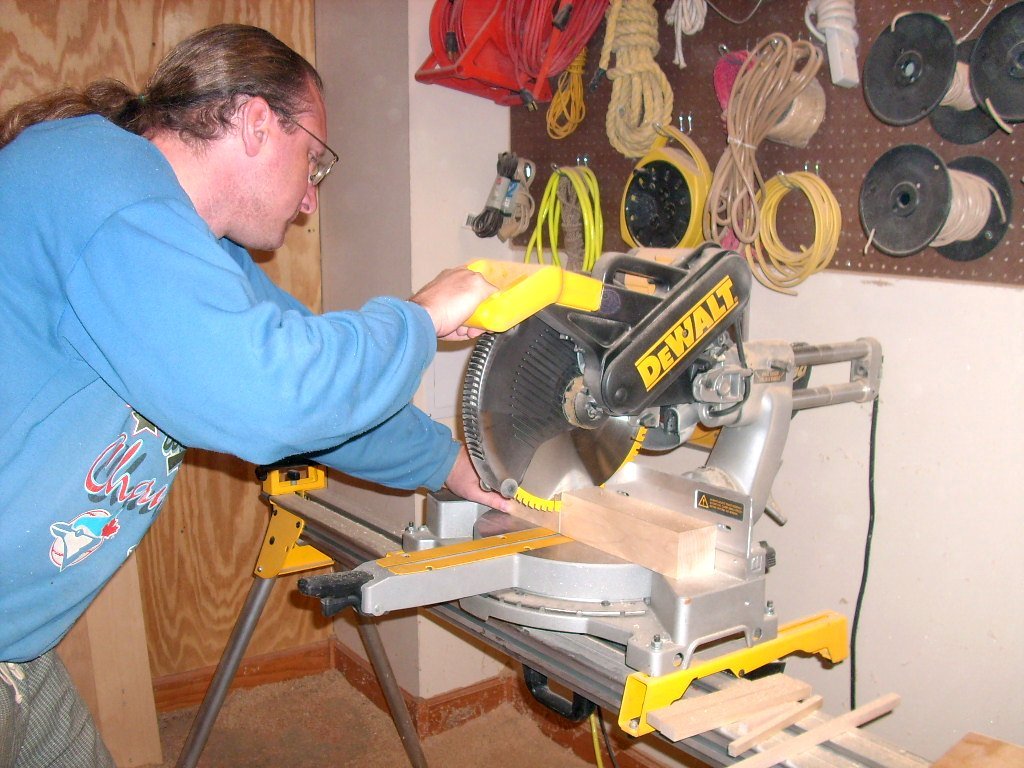
Joint, plane, and saw your rough neck stock to the exact width and
height. There’s no room for cutting wide this time, you have to hit
it right the first time. However, I do like to make the first cut
about 1mm wider than I need. Then I readjust the saw to the exact
dimension and swipe off that last millimeter. Since there’s less
resistance on the saw blade, you can get through the hard wood more
quickly and take off any burn marks made on the first pass. My
drawings accounted for cutting a little extra length for the neck.
But with the neck taper cuts coming up, I still have to hit the
width dimensions exactly to my layout drawings.
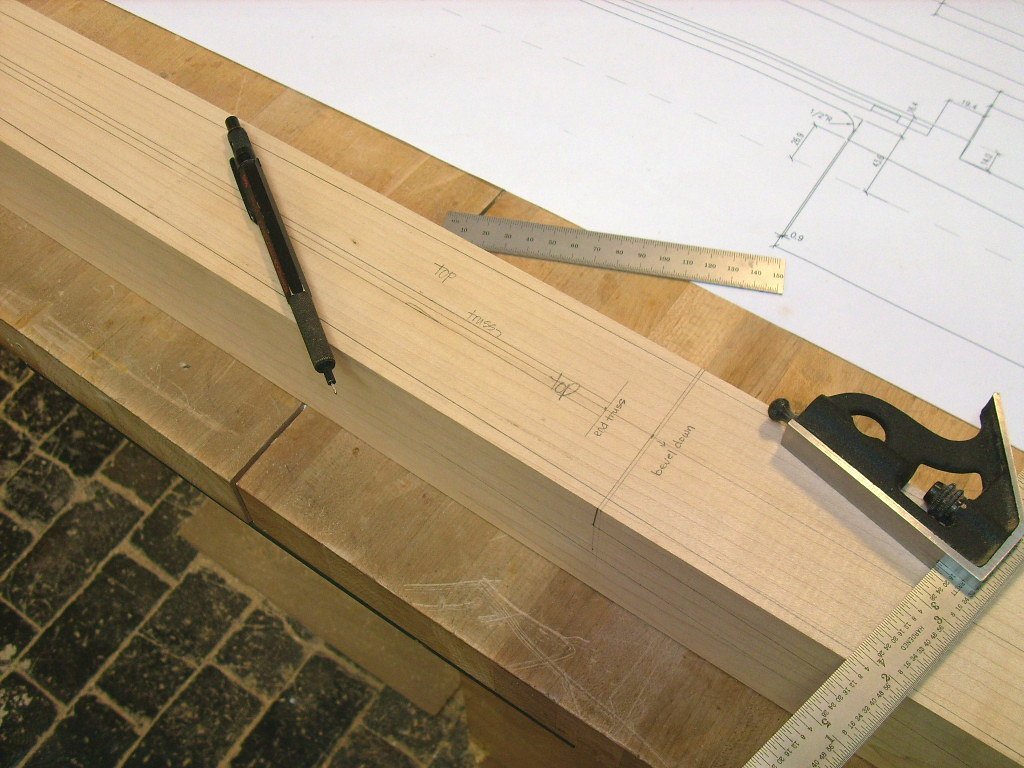
 Transfer
the important layout lines to the top face of the neck. Locate the
headstock bend line, the nut, the truss rod extent, and the end of
the fretboard. Don’t worry about the sides of the neck now since the
sides (and any layout lines drawn there) will be cut off when
tapering the neck later on. Locate your lines very carefully and
double-check your layout. Please take heed when I say “carefully”.
You don’t want to invest a dozen or so hours working on the neck to
find out it’s 10mm too short. There’s just no fixing some mistakes
without going all the way back to the start. Transfer
the important layout lines to the top face of the neck. Locate the
headstock bend line, the nut, the truss rod extent, and the end of
the fretboard. Don’t worry about the sides of the neck now since the
sides (and any layout lines drawn there) will be cut off when
tapering the neck later on. Locate your lines very carefully and
double-check your layout. Please take heed when I say “carefully”.
You don’t want to invest a dozen or so hours working on the neck to
find out it’s 10mm too short. There’s just no fixing some mistakes
without going all the way back to the start. |

 Transfer
the important layout lines to the top face of the neck. Locate the
headstock bend line, the nut, the truss rod extent, and the end of
the fretboard. Don’t worry about the sides of the neck now since the
sides (and any layout lines drawn there) will be cut off when
tapering the neck later on. Locate your lines very carefully and
double-check your layout. Please take heed when I say “carefully”.
You don’t want to invest a dozen or so hours working on the neck to
find out it’s 10mm too short. There’s just no fixing some mistakes
without going all the way back to the start.
Transfer
the important layout lines to the top face of the neck. Locate the
headstock bend line, the nut, the truss rod extent, and the end of
the fretboard. Don’t worry about the sides of the neck now since the
sides (and any layout lines drawn there) will be cut off when
tapering the neck later on. Locate your lines very carefully and
double-check your layout. Please take heed when I say “carefully”.
You don’t want to invest a dozen or so hours working on the neck to
find out it’s 10mm too short. There’s just no fixing some mistakes
without going all the way back to the start.


