|
Brian's Guitar from Conception to Birth
or How to Build a Guitar in 62 Easy Steps! |
|
14
Add the Headstock Ears |
  Due
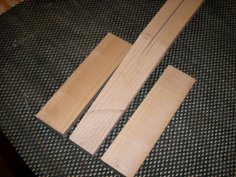
to the manner which the neck was cut and tapered, I will now add on
a couple of ears to give me some meat from which to cut the final
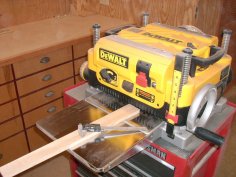
headstock’s shape. Plane your ears to exact thickness (err on being
a hair thicker). Layout where your ears need to start near the nut
and cut the ears to length. Give yourself about a 25mm margin around
the extent of the headstock so it won’t matter if you’re a bit long. Due
to the manner which the neck was cut and tapered, I will now add on
a couple of ears to give me some meat from which to cut the final
headstock’s shape. Plane your ears to exact thickness (err on being
a hair thicker). Layout where your ears need to start near the nut
and cut the ears to length. Give yourself about a 25mm margin around
the extent of the headstock so it won’t matter if you’re a bit long.
|
  Spread
a light layer of glue on one surface and position the ears exactly
to your layout line near the nut. I use Titebond II glue for almost
all my glue ups. Use plenty of clamps remembering to clamp the seams
to keep things from slipping out of plane. I also recommend wax
paper between the wood and your clamps to eliminate the chance that
your clamps will become a permanent part of the guitar. Wait at
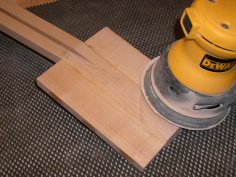
least an hour before removing the clamps, preferably two. Sand the
front and back seams perfectly flush with some 60 grit. Spread
a light layer of glue on one surface and position the ears exactly
to your layout line near the nut. I use Titebond II glue for almost
all my glue ups. Use plenty of clamps remembering to clamp the seams
to keep things from slipping out of plane. I also recommend wax
paper between the wood and your clamps to eliminate the chance that
your clamps will become a permanent part of the guitar. Wait at
least an hour before removing the clamps, preferably two. Sand the
front and back seams perfectly flush with some 60 grit. |